Thank you for sharing the coastal love:
For your convenience this post may contain affiliate links. If you make a purchase I may earn a small commission, at no additional cost to you. I'll probably blow it on a cheapo pair of flip-flops or bottle of wine :-)
Using any old reclaimed board you can easily create a custom BEACH SIGN in less than an hour. I spent an afternoon to make this batch of signs for a fundraiser event using thin pallet boards. A bit of cleaning, sanding, dry brush painting and lettering of your choice, and you’re done.
Cleaning and prepping reclaimed wood
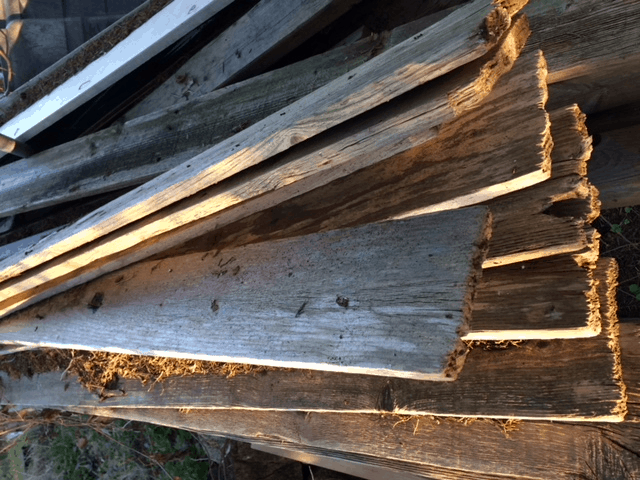
The boards had been piled up and exposed to the elements for a long time. Even though the surface had weathered nicely, they needed a good cleaning and scrubbing before painting.
For this tutorial I used boards that were about 4 inches wide and cut them 18 inches long.
 A pile of reclaimed barn boards!
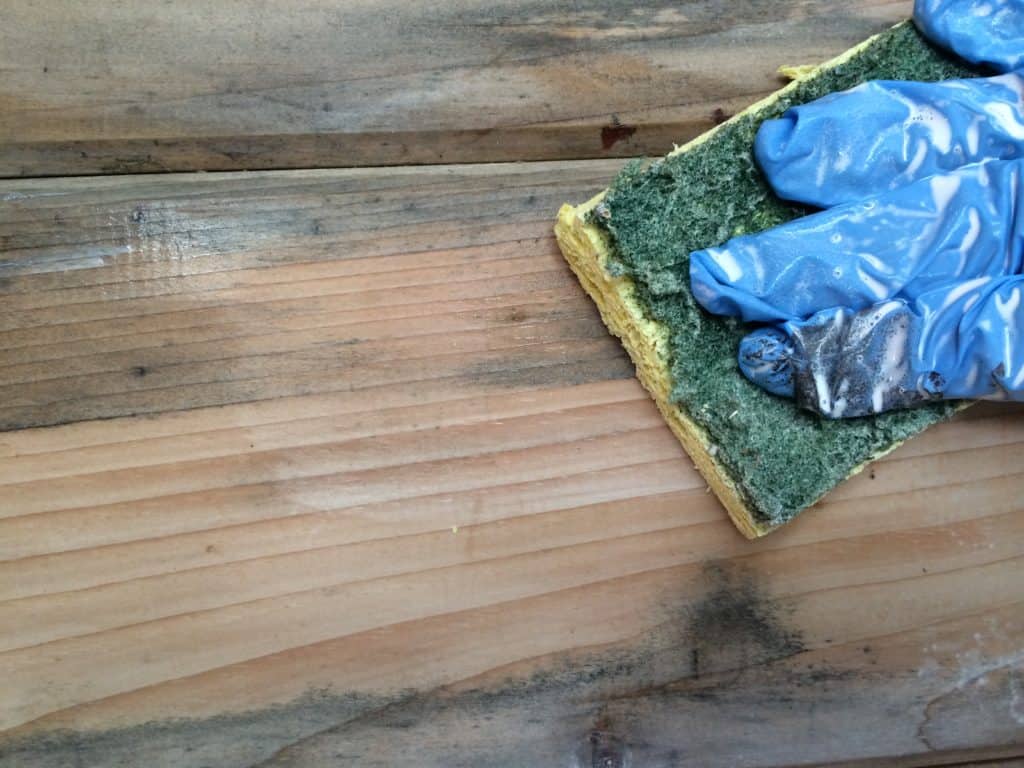
I’m a bit of a germaphobe. Whenever I use reclaimed or found wood it is washed thoroughly with water and a touch of bleach. I do this outside or in the garage and then let the pieces dry out.
 Scrub the wood with water mixed with a bit of bleach, if needed. Let dry. Use a high grit sandpaper to smooth out any rough edges.
Depending on the roughness of the wood I’ll scrape the dried surface with a stiff wire brush or high grit sand paper, or both! This prevents splinters too.
Apply the base color
At this time, you can either leave the wood natural or paint it a base color. If you’re leaving the wood natural continue to the next step.
Use a cheapo brush or a rag and acrylic paint to paint the board your beachy color of choice. Michael’s is the closest craft store to me, but wherever you shop, keep your eye out for the sales and stock up!
Don’t worry about being neat or filling in every nook and cranny. Mother Nature weathers off paint and that’s the look you want!
Once the paint is dried, use a piece of sandpaper to distress the edges and wherever you like. There’s no right way here, totally your preference. You’re going to further distress the board after painting the letters so leaving some wood exposed is fine.
Lay out the wording
Next, decide on your wording. Of course the length and width of the wood will determine the lettering that will fit nicely.
I use my computer to set the dimensions of the board and design the layout. You don’t need sophisticated software to do this. I’ll use Canva, a free program, to do this. PicMonkey is another drawing program too. Microsoft Word will work too.
Once you like the font and layout print out your design.

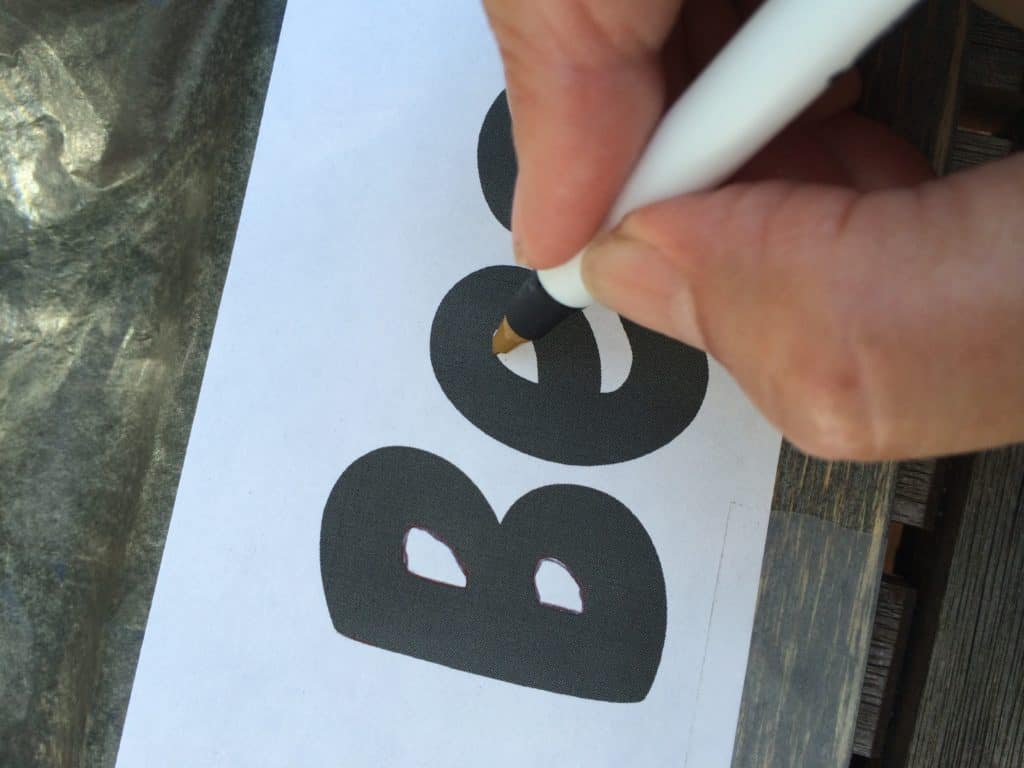
Then I place a sheet of tracing paper under the print out and press hard into the board. Note: You don’t need tracing paper, that’s just my preference. If you don’t use tracing paper be sure to press down hard as you trace the letters. You’ll want to make a depression into the wood so you’ll be able to see the letters.
Some day I’ll invest in a Cricut ® cutting machine that cuts any design into stencils. For now this low-tech method works well for a rustic beach sign.
If you have a confident drawing hand, go for it and paint the letters without bothering to prepare the print out. I’m not that good!
Time to paint the lettering
Paint your lettering a nice contrasting color. Again, don’t worry about being overly neat. The end product is suppose to look like a sign that’s been outdoors for a while.
For my signs I chose a stencil font on purpose because I liked the primitive look.
You could purchase pre-made letter stencils online or from a craft store. Also if you own a cutting machine (or have a friend with one) create a custom design.
Sand and wax finish
Once the base color and lettering is dried, lightly sand over the letters to give those a work look too. Do as much or little as you want. Sometimes I’ll distress some letters more than others.
Wipe any dust with a damp rag or tack cloth.
Optionally, you can rub on some clear wax to protect the paint. I’m still using the 4 jars of clear Americana Decor Creme Wax I bought with a coupon! Get the clear wax or try the deep brown wax to give your sign more of an antique look.
Congratulations! You’ve just made a totally custom beach sign ready to enjoy.
MATERIALS NEEDED
- Wood pieces FREE (or purchase in lumber store)
- Sand Paper
- Wire or Rope for hanging (optional)
- Hanger (for hanging, in place of wire or rope)
- Acrylic Paint
- Paint Brush
- Tracing Paper (optional)
 This board was brushed with a dark gray stain then wiped before it set in too long.
It’s pretty easy to take a discarded piece of wood and reclaim it! In about an hour you can create a custom Beach Sign that has the look and feel of a weathered antique sign. Experiment with wood sizes, base colors and fonts. Have fun!
P.S. We want your browsing experience to be a great one. Find an error, missing or broken product link? Contact me here and I’ll fix it. Thank you!
WANT TO REMEMBER THIS IDEA? Please PIN THIS POST to your favorite PINTEREST BOARD!
Thank you for sharing the coastal love: